Products To Life

Global Leader in Pad Printing
Systems, Fixtures & Consumables
A One-Stop-Shop for all your pad printing needs.
We design and manufacture:
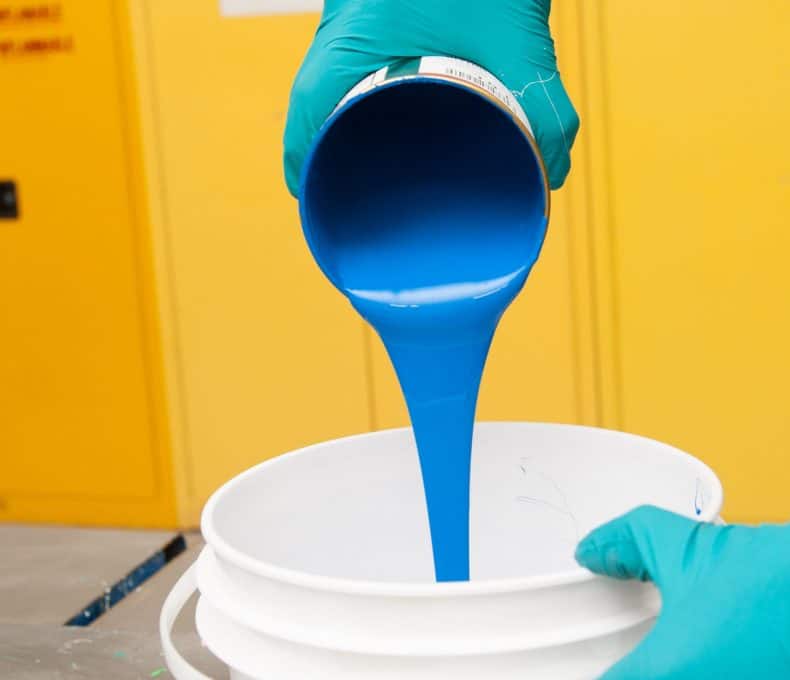
- Pad printing machines as well as precision tooling, inks, pads, and printing plates.
- Digital printing systems for targeted applications.
- Manual and fully automated product decorating solutions.
- Patented and patent-pending accessories that deliver our customers unmatched time and cost savings.
Expertise, Reliability & Efficiency
We want to be your Trusted Partner for product decoration and are eager to demonstrate how our expertise and commitment to efficiency and reliability can exceed your product decoration expectations. Our innovative and unique-in-the-market consumables generate significant time and cost savings. At the same time, our expertise in high-precision systems (manual to fully automated) allows us to provide unmatched repeatability.
Markets
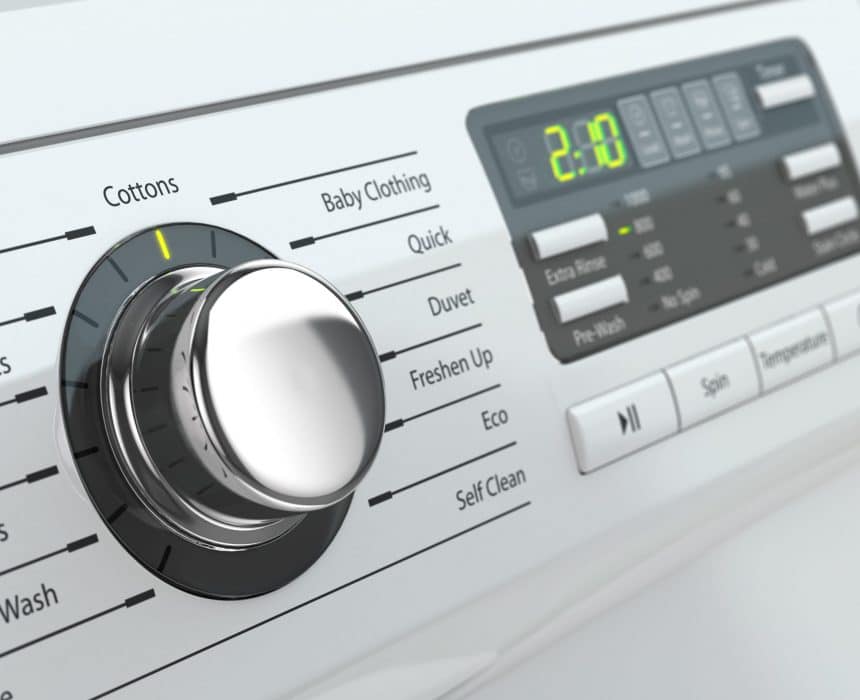
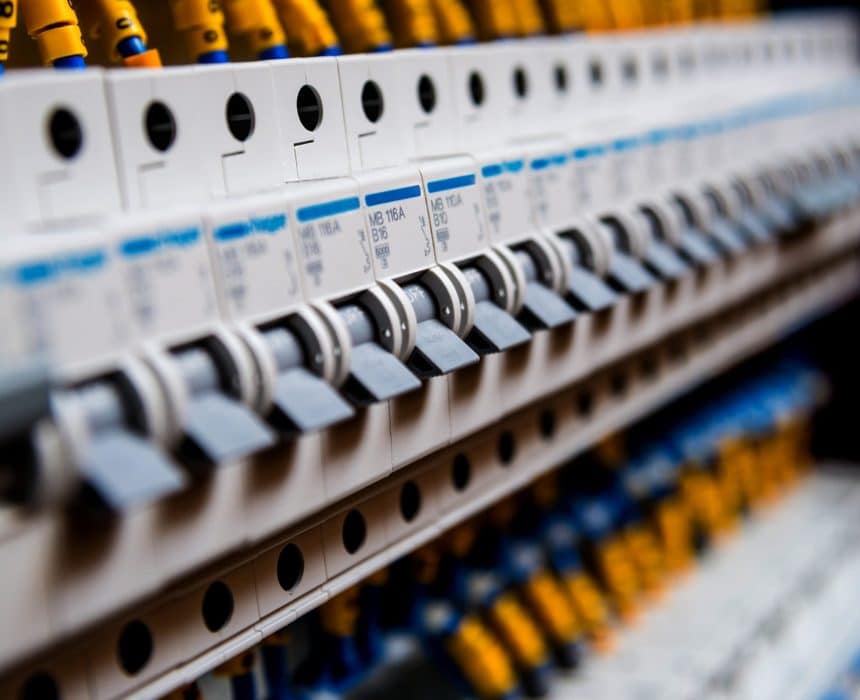
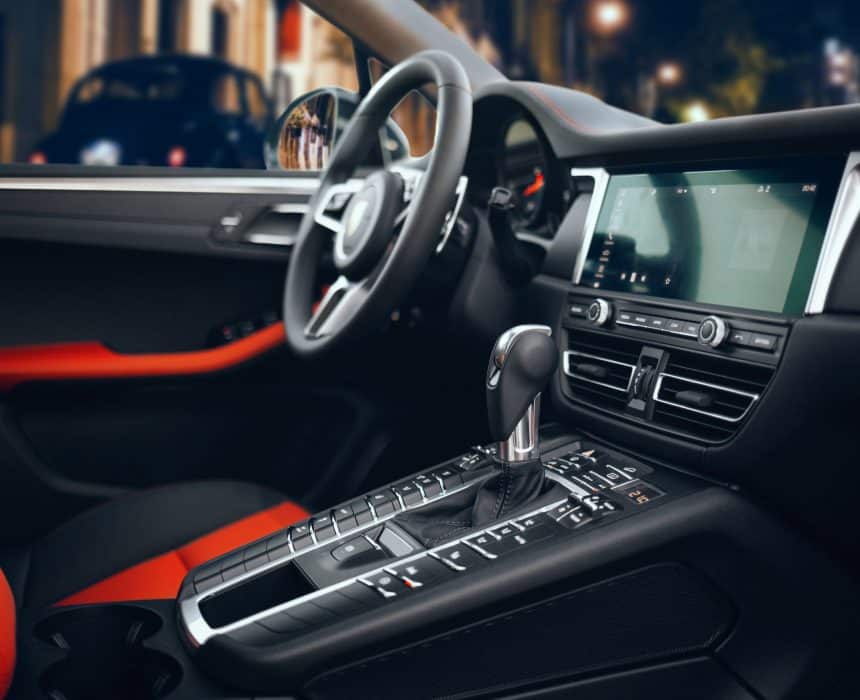
We Understand YOUR Application

Trans Tech, based in Carol Stream, IL, is a global market leader in the design and manufacture of pad printing technology for product decoration.
We have deep knowledge (born out of over 40 years of experience) of the entire product decoration process from art through production.
We get the whole picture.
Because we understand all aspects of the product decorating process (from concept/ artwork through decorated product material handling) Trans Tech is able to build highly reliable pad printers from simple manual systems up through highly complicated automated systems. Paired with our specially designed consumables – we offer not only superior repeatability but also unmatched efficiency.

Trans Tech provides a full range of pad printing consumables and fixtures allowing us to truly be a one-stop-shop for all your pad printing needs. We are proud to offer the largest supply of pad printing consumables and the largest ink warehouse in North America. We offer many unique-in-the-market innovative supplies that combine market-leading performance with unprecedented time and cost savings.

We are here to help you every step of the way. Whether you need help turning your concept into workable artwork or need help with training your team post-installation – we have you covered. We will work closely with you to ensure your decoration is repeatable from the 1st print to the 500,000th print.